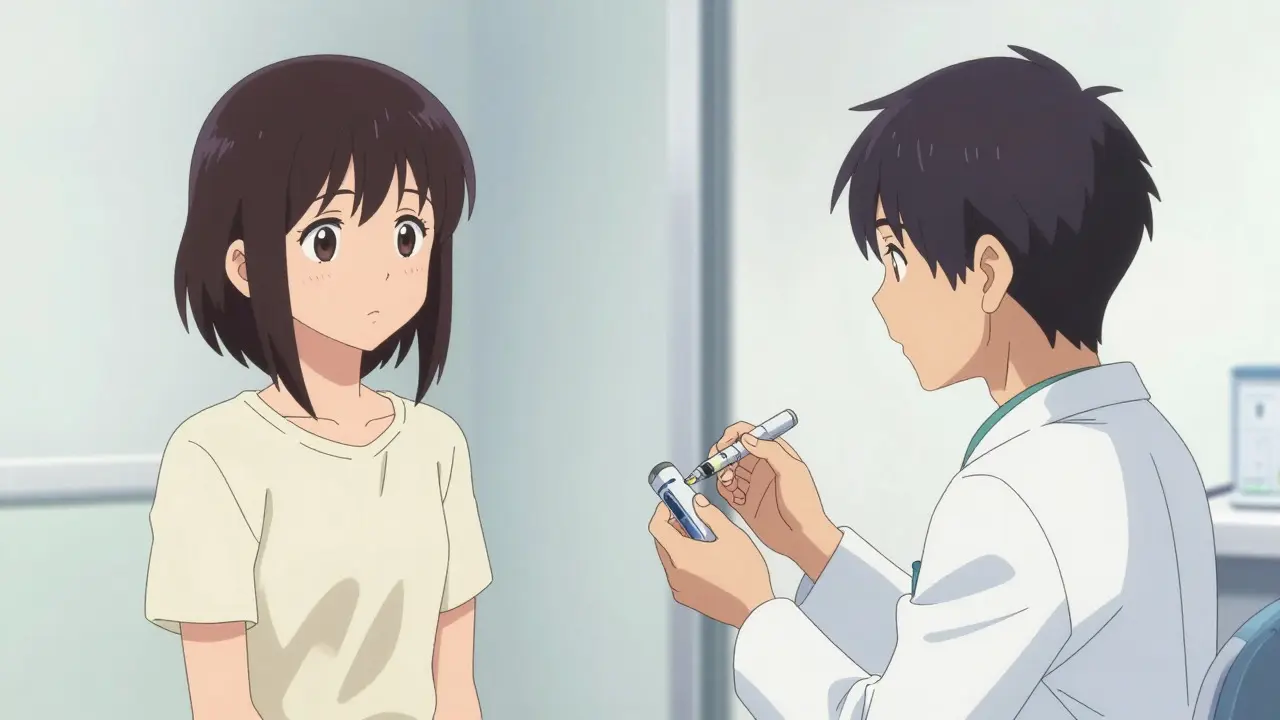

Imagine pulling out a pre-filled pen for your biologic therapy, only to realize you’re not sure if the site is clean enough or if you’re holding the device correctly. It’s a moment that can turn routine maintenance into a source of anxiety. For many patients managing conditions like rheumatoid arthritis, psoriasis, or inflammatory bowel disease, biologic injection training isn’t just a formality; it’s the critical bridge between prescribed treatment and safe, effective home care.
Yet, despite the high stakes, many patients report feeling underprepared. Recent data suggests that while most patients receive some form of instruction, a significant portion rely on brief verbal cues or single-session demonstrations. This gap in education doesn’t just affect confidence-it directly impacts safety. Improper technique can compromise the sterile field, potentially increasing the risk of skin and soft tissue infections. Understanding exactly what good training looks like, and how to identify gaps in your own preparation, is essential for keeping your treatment both effective and safe.
The Reality of Current Training Standards
When healthcare providers introduce biologic therapies, the goal is usually quick competency. However, the time allocated for this crucial skill often falls short of what is needed for true mastery. Studies indicate that average training sessions last between 30 and 38 minutes. While this might seem sufficient, experts argue that optimal training requires 90 to 120 minutes distributed across multiple interactions. Why? Because learning to inject yourself involves more than just pressing a button; it requires muscle memory, emotional regulation, and consistent routine building.
Many patients find themselves in a "tell-show-try" scenario where the provider explains the steps, demonstrates them once, and then asks the patient to try. Only about 27% of patients receive all three components comprehensively. If you missed the "try" phase or didn’t get a chance to practice with a trainer device, you are at a higher risk of developing bad habits early on. These habits, such as rushing the process or skipping hand hygiene, are the primary drivers of technique errors during the first six months of therapy.
Why Technique Matters for Infection Prevention
Infection risks associated with biologics are often misunderstood. The drugs themselves are generally safe when stored correctly, but the act of injecting introduces a foreign object into the body. If the skin barrier is compromised by poor hygiene or incorrect site selection, bacteria can enter the tissue. The CDC notes that improper self-injection technique contributes to a notable percentage of outpatient skin infections related to injectable medications.
Specifically, failing to maintain a sterile field can increase infection risk significantly. This doesn't mean you need a hospital-grade setup in your living room, but it does mean adhering to strict basics:
- Hand Hygiene: Washing hands for at least 20 seconds with soap and water before handling the pen or syringe.
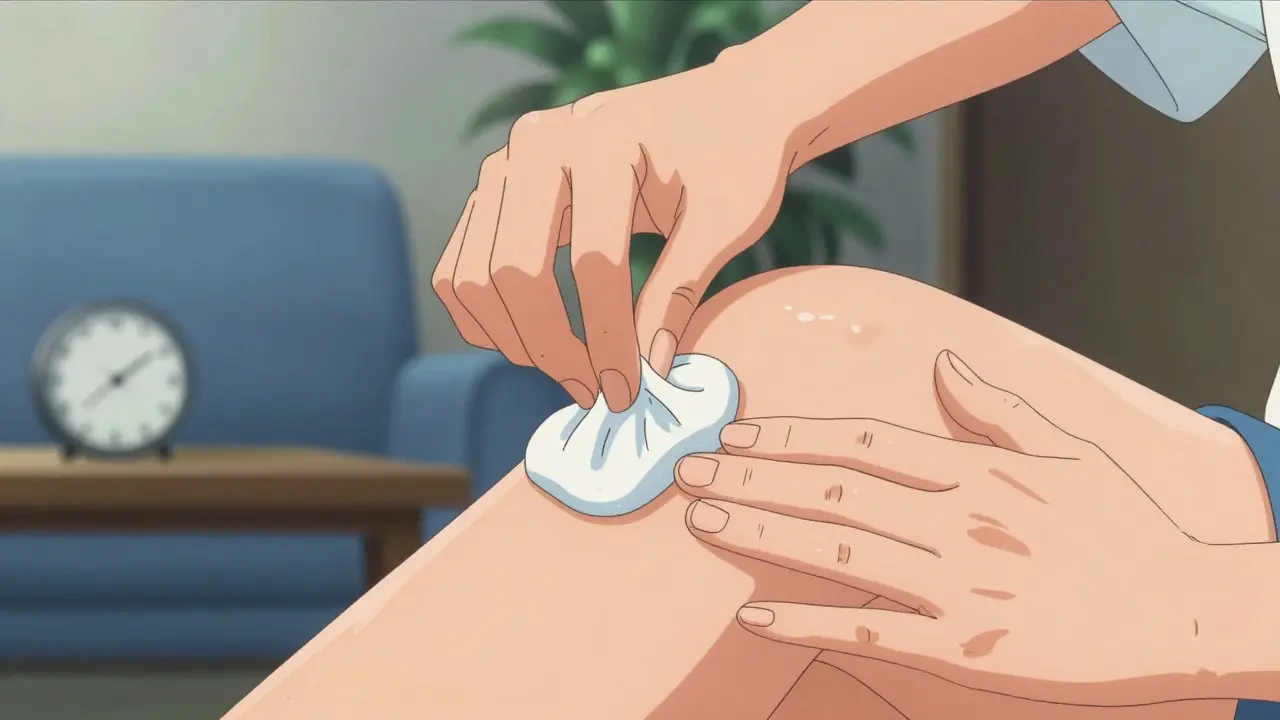
- Site Preparation: Cleaning the injection site with an alcohol swab and letting it dry completely before inserting the needle.
- Site Rotation: Changing locations (thigh, abdomen, upper arm) and ensuring at least one inch of spacing between previous injection sites to prevent tissue irritation.
Ignoring these steps can lead to localized redness, swelling, or warmth. While minor reactions are common, signs of actual infection include redness exceeding two centimeters in diameter or a fever above 100.4°F (38°C). Recognizing these early warning signs is a key part of any robust training program.
Effective Training Methods vs. Common Pitfalls
Not all training is created equal. The most effective approaches move beyond passive listening. Research shows that "teach-back" methods-where you demonstrate the steps back to the clinician-are far superior to simply nodding along. This active recall ensures that you understand not just *what* to do, but *why* you are doing it.
Distributed learning also plays a huge role. Instead of cramming everything into one appointment, spreading practice over several weeks helps retention. Patients who have access to follow-up demonstrations or digital resources report fewer technique errors. Conversely, relying solely on initial instruction without ongoing support leads to a decline in confidence and accuracy over time.
| Training Approach | Average Duration | Technique Retention at 6 Months | Infection Risk Factor |
|---|---|---|---|
| Single-Session Verbal Instruction | ~30 mins | Low (~52%) | Higher due to unaddressed anxiety/errors |
| Distributed Multi-Session Training | 90-120 mins total | High (~94%) | Lower due to reinforced sterile habits |
| Teach-Back Methodology | Varies | Significantly Higher | Reduced via immediate error correction |
The Emotional Component of Safe Injection
We often talk about the mechanics of injection, but we rarely discuss the emotions behind it. Anxiety is a major factor in treatment discontinuation. When patients are nervous, they tend to rush, skip cleaning steps, or remove the needle too quickly. This haste is where safety lapses occur. Experts estimate that emotional factors contribute to a large portion of early treatment dropouts, even when mechanical skills are adequate.
Addressing this means incorporating "rituals" into your routine. This could be setting aside specific time each week, creating a calm environment, or using breathing techniques before starting. Healthcare providers who acknowledge these fears and offer "breathing room"-such as placing a hand gently over yours during the first supervised injections-help reduce premature device removal and build trust. A calm mind leads to steady hands, which directly supports better sterile technique.

Building Your Home Safety Routine
Once you leave the clinic, your home becomes your operating room. Setting up the right environment is non-negotiable for minimizing risks. You don’t need expensive equipment, but you do need consistency. Start by designating a specific spot for your supplies. This reduces the cognitive load of finding things and helps create a mental cue for the procedure.
Ensure you have adequate lighting so you can clearly see the injection site and check for any existing marks or irritations. Keep a sharps disposal container nearby-not just a trash bin-to safely handle used needles. Finally, keep a log. Tracking your injection dates, sites, and any reactions helps you and your doctor spot patterns early. If you notice recurring issues at certain sites, it might indicate a need to adjust your rotation schedule or revisit your technique with your provider.
Questions You Should Ask Your Provider
If you feel unsure about your current training level, take control by asking specific questions. Don’t hesitate to request a re-demonstration or ask for a trainer device to practice with at home. Here are key topics to cover:
- Site Selection: Are there specific areas I should avoid due to my condition or previous scars?
- Storage: How long can the pen sit out at room temperature before I must use it?
- Reaction Monitoring: What specific signs distinguish a normal local reaction from an infection requiring medical attention?
- Follow-Up: Can we schedule a quick check-in after my first few home injections to review my technique?
By actively engaging in this dialogue, you transform from a passive recipient of care into a competent partner in your own health management. Proper training isn’t just about avoiding side effects; it’s about empowering yourself to manage a complex therapy with confidence and precision.
How long should biologic injection training take?
While many sessions last around 30 minutes, research suggests that 90 to 120 minutes distributed across multiple sessions is optimal. This allows for proper demonstration, practice, and teach-back verification, reducing the likelihood of technique errors and infection risks.
What are the main signs of an injection site infection?
Look for redness that spreads beyond two centimeters from the injection point, increasing warmth, swelling, or pus. A fever above 100.4°F (38°C) is also a critical sign. Minor redness or itching is common, but persistent or worsening symptoms require medical attention.
Do I need to rotate injection sites every time?
Yes. Rotating sites within the same area (e.g., different parts of the thigh or abdomen) prevents tissue irritation and lipodystrophy. Ensure you leave at least one inch of space between new and old injection sites to allow the skin to heal properly.
Can anxiety really affect the safety of my injection?
Absolutely. Anxiety can lead to rushed movements, skipped hygiene steps, or premature needle removal. Allowing time to relax and establishing a calm routine helps ensure that mechanical steps are performed correctly, maintaining the sterile field.
What if I missed my initial training session?
Don’t panic. Contact your pharmacy or healthcare provider to arrange a make-up session. Many providers offer virtual training or provide trainer devices for home practice. Never attempt to guess the technique based on videos alone without professional verification of your form.